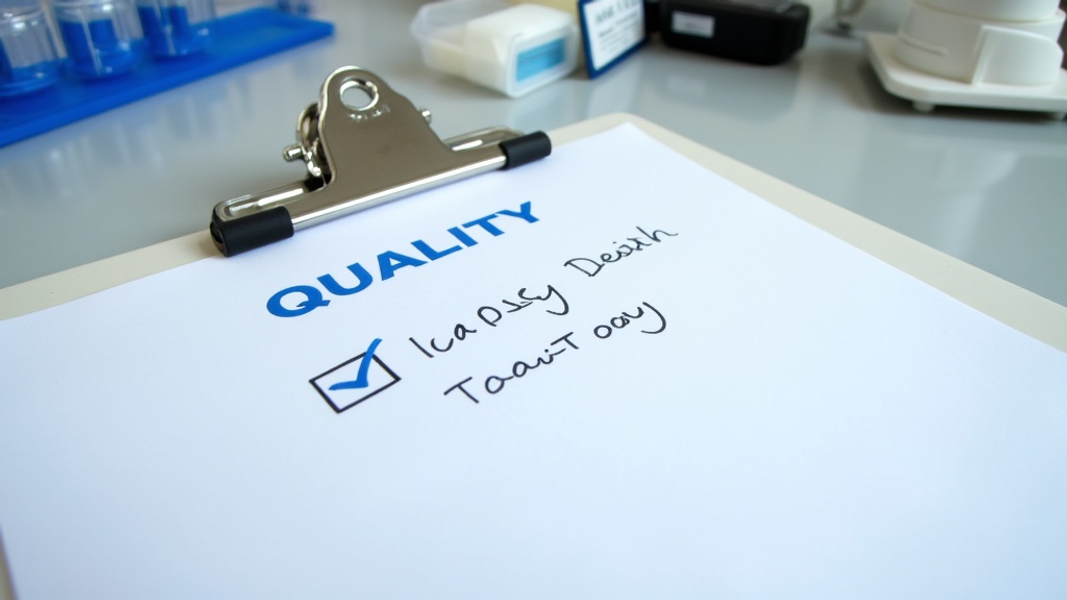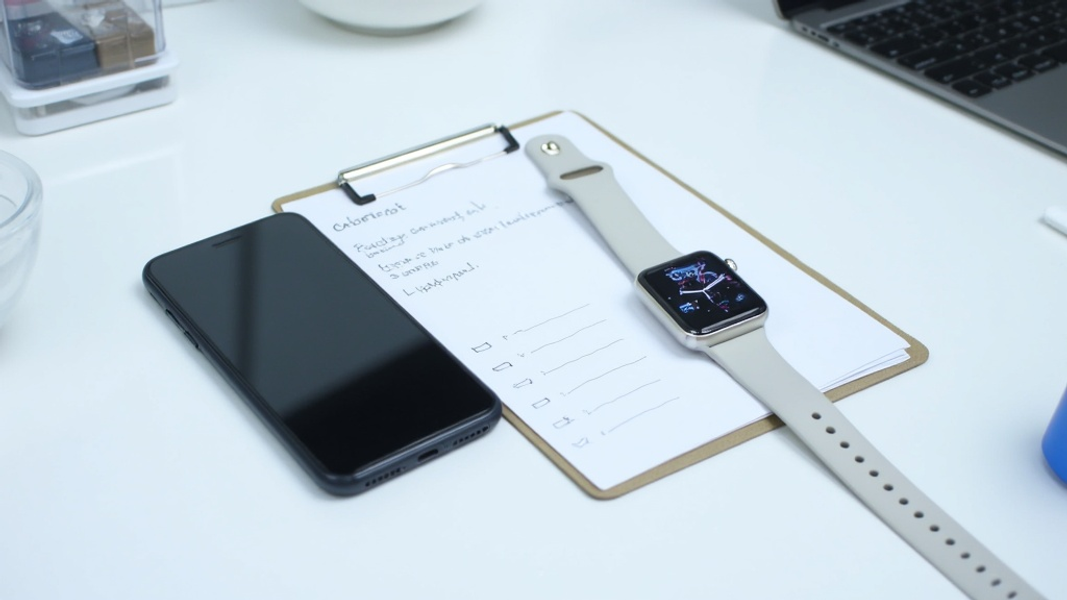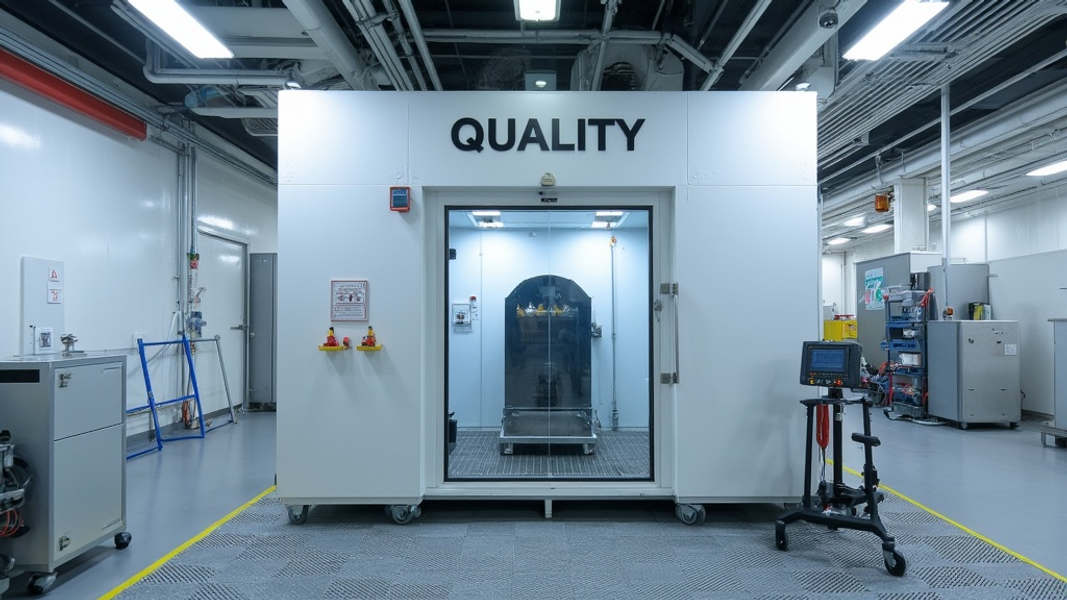
Have you ever bought a product that broke on the first use? It's frustrating and disappointing. Product failures can hurt customers and damage a company's reputation. That's why thorough testing is so important. This checklist will help you test products properly to ensure they're safe and work well.
The Importance of Product Testing
Product testing is a key step in making sure items are safe and work as they should. When companies skip or rush testing, bad things can happen. Products might break easily, not work right, or even hurt people. This can lead to unhappy customers, lost sales, and costly recalls.
Good testing helps catch problems before products reach stores. It makes sure items meet safety rules and work standards. When products pass tough tests, customers know they can trust them. This builds a good name for the brand.
Testing also helps companies improve their products. They can find weak spots or ways to make things better. This leads to items that last longer and work better. In the end, good testing saves money and keeps customers happy.
Reducing Risks
Careful testing finds problems early. This lets companies fix issues before products go on sale. It stops faulty items from reaching customers. This cuts down on returns, complaints, and the need for recalls.
Meeting Standards
Many industries have strict rules for products. Testing makes sure items follow these rules. This keeps companies out of trouble with the law. It also shows they care about doing things right.
Building Trust
When products work well and last long, customers notice. They start to trust the brand more. This can lead to repeat sales and good reviews. Over time, it helps a company grow and do better than others.
Pre-Testing Preparation
Before you start testing, you need to get ready. Good prep work makes the whole process smoother and more useful. Here's what to do:
Define Testing Objectives
First, decide what you want to learn from your tests. Make a list of the most important things to check. This might include how well the product works, how safe it is, or how long it lasts. Write down exactly what a "pass" looks like for each test.
For example, if you're testing a new phone, you might want to check:
- Battery life (should last at least 12 hours of normal use)
- Screen durability (should not crack when dropped from 3 feet)
- Water resistance (should work after being in 1 meter of water for 30 minutes)
Having clear goals helps you focus your tests and know when you've done enough.
Assemble the Testing Team
Pick the right people for your testing team. You need folks who know the product well and understand what customers want. Make sure everyone knows their job and what to look for.
Your team might include:
- Engineers who designed the product
- Quality control experts
- Safety specialists
- People who represent typical customers
Give your team the training they need to do good tests. Make sure they know how to use all the testing tools and equipment.
Prepare Testing Environment
Set up a place to do your tests that matches how the product will be used in real life. If you're testing outdoor gear, you might need to test both inside and outside. For kitchen items, set up a test kitchen.
Get all the tools and equipment you'll need ready. This might include:
- Measuring tools
- Safety gear
- Cameras to record tests
- Computers to log data
Make sure your test area is safe and follows all workplace rules.
The Product Testing Checklist
Now let's go through the main parts of product testing. Use this checklist to make sure you cover all the important areas.
1. Safety Assessment
Safety comes first in product testing. You need to check for any ways the product could hurt someone.
Start by thinking about all the ways someone might use (or misuse) the product. Look for sharp edges, pinch points, or parts that could break off. If the product uses electricity, check for shock risks. For items that get hot, test for burn hazards.
Make sure your product follows all safety rules. In the U.S., check the Consumer Product Safety Commission guidelines for your type of product. Other countries have their own safety boards to check.
Do drop tests, stress tests, and overload tests to see how the product holds up under tough conditions. Record all your results carefully.
2. Functionality Testing
This step checks if the product does what it's supposed to do. Test every feature and function to make sure it works right.
For a coffee maker, you might test:
- Does it brew coffee at the right temperature?
- Do all the buttons and settings work?
- Does it shut off automatically as promised?
Try using the product in different ways, including ways that aren't in the instructions. This can help find hidden problems.
Check how easy the product is to use. Can people figure out how to use it without reading a manual? Are the controls clear and easy to understand?

3. Performance Testing
Performance testing looks at how well the product works over time. This includes speed, power, and reliability.
For a vacuum cleaner, you might test:
- How much dirt it picks up in one pass
- How long the battery lasts (for cordless models)
- How well it cleans different types of floors
Do stress tests to see how the product handles heavy use. Run it for long periods or use it more than a normal person would. This can show weak points or parts that wear out fast.
4. Compatibility Testing
If your product needs to work with other things, test those connections. For tech products, this is really important.
Check if your product works with:
- Different operating systems (Windows, Mac, iOS, Android)
- Various web browsers
- Other brands of accessories or add-ons
For non-tech products, think about what else people might use with your item. A new frying pan should work on all types of stoves, for example.
5. Usability Testing
Usability testing looks at how easy and pleasant the product is to use. This often means getting real people to try the product and give feedback.
Watch people use your product without help. See where they get stuck or confused. Ask them what they like and don't like about using it.
Check if the product is comfortable to use for long periods. For things like chairs or tools, make sure they don't cause pain or fatigue.
Look at the instructions or user manual. Are they clear and easy to follow? Do people actually read and understand them?
6. Durability Testing
Durability tests check how long a product will last with normal use. This can involve lots of repetitive actions or simulated wear and tear.
For a pair of shoes, you might:
- Flex the sole thousands of times
- Test how well the waterproofing lasts after many washes
- See how the material holds up to scuffs and scratches
Use machines to simulate years of use in a short time. This can show how the product might fail over time.
7. Environmental Testing
Products need to work in different environments. Test your product in various conditions it might face.
This could include:
- High and low temperatures
- Humidity
- Dust or sand
- Altitude changes (for things that might be used on airplanes)
Also think about how your product affects the environment. Can it be recycled? Does it use eco-friendly materials? These factors are becoming more important to many customers.

Post-Testing Analysis and Reporting
After all the tests are done, it's time to look at what you learned. This step is key to making your product better.
Go through all the test results carefully. Look for any problems that showed up, even small ones. Sometimes little issues can point to bigger problems.
Make a clear report that shows:
- What tests were done
- How the product did on each test
- Any problems found
- Ideas for fixing issues or making the product better
Share this report with the whole team, including designers and managers. Use simple language so everyone can understand the results.
If you found problems, make a plan to fix them. This might mean changing the design, using different materials, or adding new features. Set clear goals and deadlines for these changes.
For digital products, you can use tools like FastWaitlist to get early feedback. This can help you catch problems before you spend a lot on making the final product.
Case Studies
Let's look at how some big companies do product testing:
Apple's iPhone Testing
Apple is known for tough testing. They drop iPhones from different heights to check for damage. They also use machines to press buttons millions of times to make sure they last. Apple even tests how phones work in very hot or cold places.
Tesla's Battery Safety Tests
Tesla does extreme tests on their car batteries. They set them on fire, crush them, and even shoot them with bullets. This helps make sure the batteries are safe, even in bad crashes.
These examples show how important thorough testing is for making safe, high-quality products.
Conclusion
Good product testing is a must for any company that wants to make great items. It helps catch problems early, saves money in the long run, and keeps customers happy. Use this checklist to make sure your testing covers all the important areas. Remember, a well-tested product is more likely to succeed in the market.
FAQs
How long should product testing take?
The time needed for testing depends on the product. Simple items might take a few days, while complex products could need months of testing. It's better to take the time to test thoroughly than to rush and miss problems.
Do I need to test every single product?
You don't need to test every single item, but you should test samples from each production batch. This helps catch any problems that might come up during manufacturing.
What if I find a problem during testing?
If you find a problem, stop testing and fix the issue. Then start the testing process over to make sure the fix worked and didn't cause new problems.
Can I do all testing in-house or should I use outside labs?
For some tests, especially safety tests, it's good to use outside labs. They have special equipment and knowledge. But many tests can be done in-house if you have the right tools and trained staff.
How often should I update my testing process?
Review your testing process at least once a year. Also update it when you change your product, when new technologies come out, or when safety rules change.
