
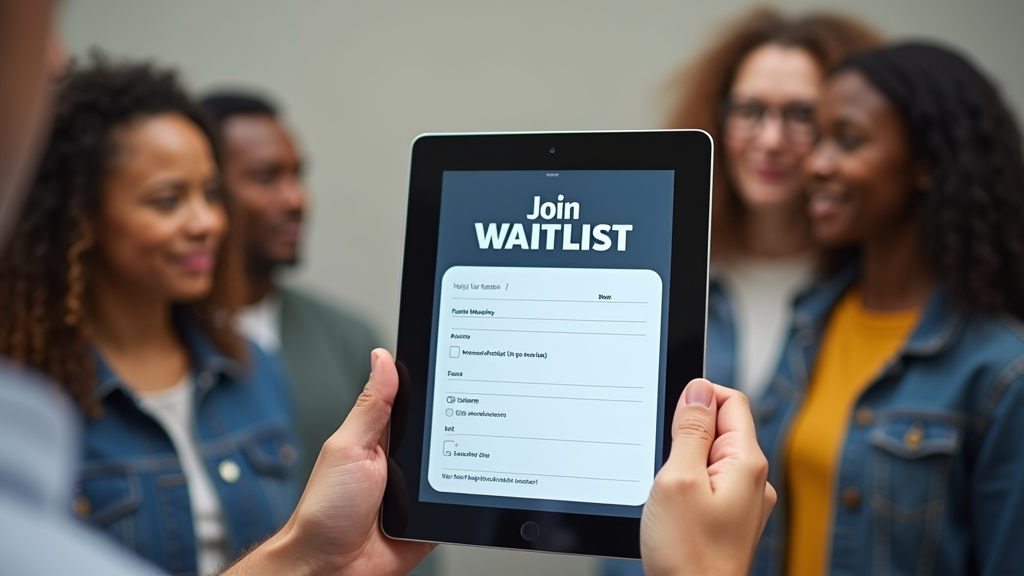
Creating a waitlist can be a game-changer for managing high-demand events, courses, or product launches. Google Forms offers a free and user-friendly way to set up and manage waitlists. This guide will walk you through the process of creating an effective waitlist using Google Forms, from understanding the basics to implementing best practices for success.
Understanding Google Forms and Waitlists
What is Google Forms?
Google Forms is a free online tool that allows users to create surveys, quizzes, and forms. It's part of the Google Workspace suite of productivity tools. Google Forms stands out for its simplicity and integration with other Google services, making it an excellent choice for creating waitlists.
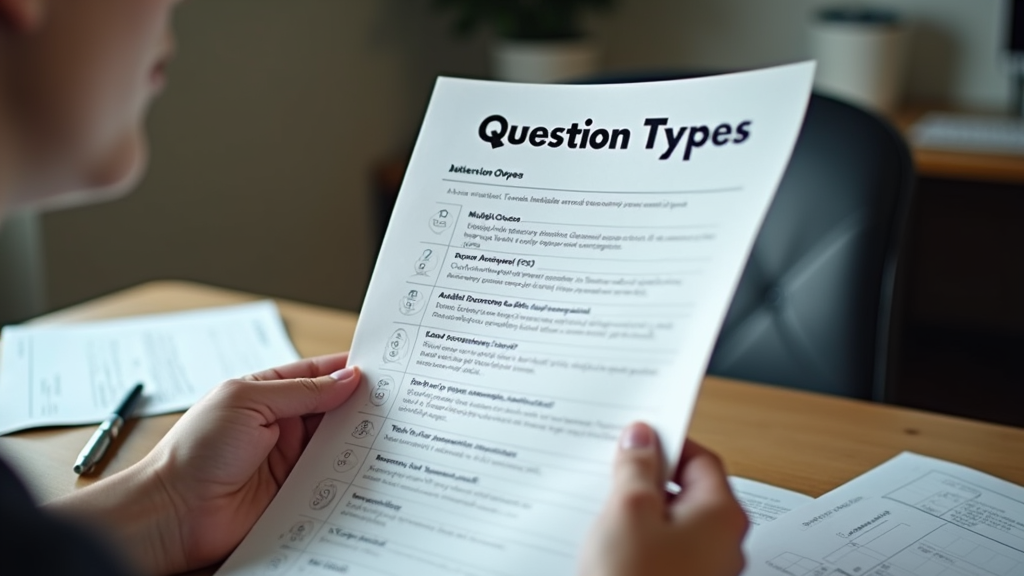
The platform offers a range of question types, from multiple-choice to short answers, allowing you to gather exactly the information you need. Its user-friendly interface makes it easy for both form creators and respondents to use, even without technical expertise.
Why Use Google Forms for Waitlists?
Google Forms shines as a waitlist management tool for several reasons. First, it's completely free, which is a big plus for small businesses or event organizers working with tight budgets. The platform is also incredibly easy to set up and manage, requiring no coding knowledge or special skills.
Another major advantage is its seamless integration with other Google services. Responses from your waitlist form automatically populate a Google Sheets spreadsheet, making data management and analysis a breeze. This integration allows for real-time updates and easy sharing with team members.
Types of Waitlists You Can Create
Google Forms is flexible enough to handle various types of waitlists. Here are some common use cases:
- Event waitlists: For conferences, workshops, or any event with limited capacity.
- Course registration waitlists: Perfect for online or in-person classes that fill up quickly.
- Product launch waitlists: Ideal for gauging interest in new products and managing pre-orders.
Each type of waitlist may require different information from participants, but Google Forms can be customized to fit any of these scenarios.
Preparing to Create Your Waitlist
Defining Your Waitlist Goals
Before diving into the technical aspects of creating your form, it's crucial to clearly define your goals. Start by identifying your target audience. Are you aiming for a specific demographic, or is your waitlist open to anyone interested?
Next, determine what information you need to collect. Basic details like name and email are standard, but you might also need additional data depending on your waitlist's purpose. For an event, you might ask about dietary restrictions or session preferences. For a product launch, you could inquire about product feature priorities.
Lastly, consider your capacity limits. How many spots are available? Will you need to prioritize certain participants? Having these details sorted out beforehand will make the form creation process much smoother.
Planning Your Form Structure
A well-structured form is key to collecting the right information efficiently. Start by listing all the essential questions you need to ask. These typically include:
- Full name
- Email address
- Phone number (if necessary)
- Reason for joining the waitlist
Then, consider any optional fields that could provide valuable additional information. For example, you might ask how participants heard about your offering or what specific features they're most interested in.
It's also important to think about data privacy and security. Only collect information that you truly need and be transparent about how you'll use and protect participants' data.
Designing a User-Friendly Experience
The easier your form is to complete, the more likely people are to join your waitlist. Start by creating clear, concise instructions at the beginning of your form. Explain what the waitlist is for and what participants can expect after submitting their information.
Optimize your form for mobile devices, as many people will likely access it on their phones. Google Forms automatically adjusts to different screen sizes, but keep this in mind when deciding on question types and form length.
Lastly, ensure your form is accessible to all users, including those with disabilities. Use clear language, provide alternative text for any images, and consider color contrast for better readability.
Step-by-Step Guide to Creating a Waitlist on Google Forms
1. Accessing Google Forms
To get started, log into your Google account and navigate to Google Forms. If you don't have a Google account, you'll need to create one first. Once you're in, you'll see the option to create a new form or choose from templates.
2. Creating a New Form
For a waitlist, it's usually best to start with a blank form. Click on the plus sign to create a new form. Give your form a clear, descriptive title like "Event Name Waitlist Registration" or "Product Launch Interest List."
3. Adding and Customizing Questions
Google Forms offers various question types to choose from. For a basic waitlist, you'll likely use a mix of short answer, multiple choice, and maybe checkbox questions. Here's a typical setup:
- Short answer for name and email
- Multiple choice for "How did you hear about us?"
- Checkbox for interests or preferences
Remember to mark essential fields as "Required" to ensure you get all the necessary information.
4. Setting Up Form Sections
For longer forms, consider breaking your questions into sections. This makes the form less overwhelming and easier to navigate. You might have sections for:
- Personal Information
- Interests and Preferences
- Additional Comments
To add a section, click the "Add section" button in the right sidebar.
5. Customizing the Form's Appearance
Google Forms allows you to personalize the look of your form. Click on the palette icon at the top to choose a theme or set custom colors. You can also add a header image to make your form more visually appealing and on-brand.
6. Configuring Form Settings
Click the settings gear icon to access important configuration options. Here, you can:
- Limit the number of responses if you have a specific capacity
- Choose to get email notifications for new responses
- Set up a custom confirmation message
7. Creating a Custom Thank You Page
After submitting the form, participants will see a confirmation page. Customize this to provide next steps or additional information. You might include:
- A thank you message
- An estimate of when they might hear back
- Links to your website or social media channels
8. Testing Your Form
Before launching, it's crucial to test your form thoroughly. Submit test responses on different devices to ensure everything works as expected. Review how the data is collected in the linked Google Sheet to make sure it's organized in a way that's useful for you.
Managing Your Waitlist Effectively
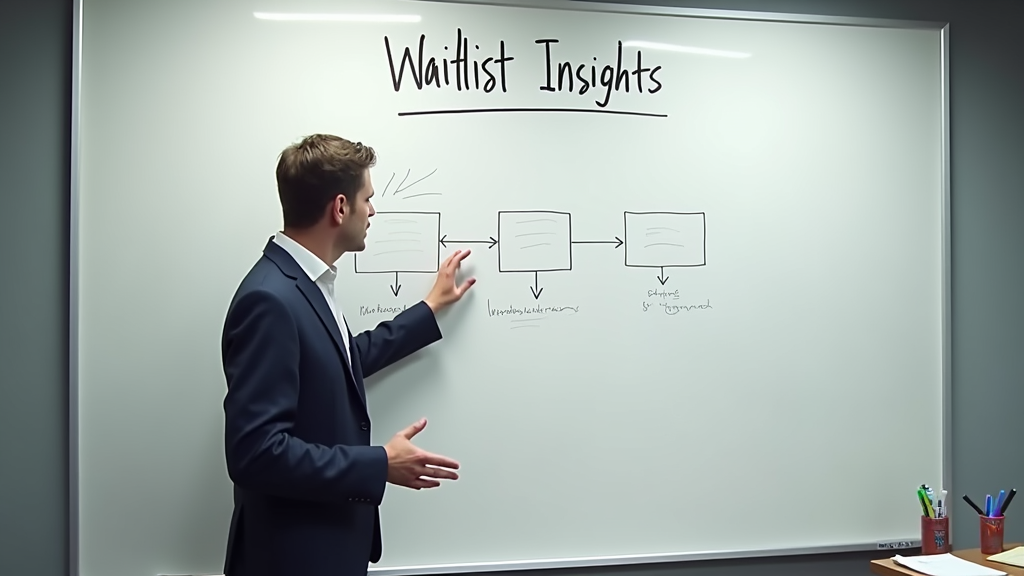
Organizing and Analyzing Responses
Once your form is live and collecting responses, it's time to make sense of the data. Google Forms automatically creates a spreadsheet in Google Sheets with all the responses. This makes it easy to sort, filter, and analyze your waitlist data.
Consider setting up pivot tables or charts to visualize key information. For example, you might create a pie chart showing how people heard about your offering, or a bar graph displaying the most popular product features.
You can also use Google Sheets' built-in sorting and filtering tools to prioritize your waitlist based on specific criteria. For instance, you might want to give priority to early signups or those interested in a particular feature.
Communicating with Waitlist Participants
Effective communication is key to managing expectations and keeping your waitlist engaged. Set up an automated email response using Google Forms' email notification feature or a third-party email marketing tool like Mailchimp.
Your initial email should:
- Thank the participant for joining the waitlist
- Confirm the information they provided
- Give an estimate of when they might expect further updates
- Provide any relevant links or additional information
As your event or launch date approaches, send regular updates to keep participants informed and excited. This could include sneak peeks, behind-the-scenes content, or status updates on their position in the queue.
Handling Waitlist Movement
Managing the flow of people off your waitlist requires careful planning. Decide on a strategy for how you'll move people from the waitlist to confirmed spots. Will it be first-come, first-served? Or will you use other criteria to prioritize?
Consider using automation tools to streamline this process. Zapier or IFTTT can help you set up automatic notifications when spots open up. This saves time and ensures prompt communication with waitlist members.
Have a plan for dealing with no-shows or cancellations. You might want to give waitlisted participants a limited time to claim their spot before moving on to the next person in line.
Integrating with Other Tools
To make your waitlist management even more efficient, consider integrating Google Forms with other tools you use. Here are a few possibilities:
- Connect to your Customer Relationship Management (CRM) system to keep all customer data in one place
- Sync with calendar applications to manage event schedules
- Use project management tools to assign tasks related to waitlist follow-ups
These integrations can help streamline your workflow and ensure no waitlist participant falls through the cracks.
Best Practices and Tips for Successful Waitlist Management
Maintaining Data Accuracy
Keeping your waitlist data clean and up-to-date is crucial for effective management. Regularly review and clean your data to remove duplicates or outdated entries. Consider implementing a double opt-in process for email confirmations to ensure the accuracy of contact information.
You might also want to periodically reach out to waitlist members to confirm their continued interest. This helps keep your list current and focused on truly interested participants.
Enhancing User Experience
Going above and beyond in user experience can turn waitlist members into enthusiastic supporters. Consider providing estimated wait times if possible, or offering alternatives for those further down the list. For example, if your waitlist is for an event, you could offer a livestream option or early access to event materials for those who don't make it off the waitlist.
Leveraging Waitlists for Marketing
Your waitlist is not just a tool for managing capacity—it's also a valuable marketing asset. With permission, you can use your waitlist to:
- Gather insights about your target audience
- Test messaging or product ideas
- Build anticipation for your offering
Consider creating exclusive content or offers for waitlist members to keep them engaged and excited about your brand.
Ensuring Compliance and Privacy
As you collect and manage personal data, it's crucial to stay compliant with data protection regulations like GDPR or CCPA. Be transparent about how you'll use the data collected and provide clear options for opting out or requesting data deletion.
Implement a data retention policy that outlines how long you'll keep waitlist information and how it will be securely disposed of when no longer needed.
Troubleshooting Common Issues
Even with careful planning, you may encounter some challenges with your Google Forms waitlist. Here are solutions to common problems:
Dealing with Form Submission Errors
If participants report trouble submitting the form, first check your form settings to ensure you haven't accidentally closed responses. Also, verify that required fields are clearly marked and that any file upload size limits are reasonable.
Resolving Data Syncing Problems
Sometimes, there might be a delay in responses appearing in your linked Google Sheet. Usually, this resolves on its own, but you can try refreshing the sheet or checking your internet connection. If the problem persists, you might need to unlink and relink the form to the sheet.
Addressing Capacity Limit Challenges
If your waitlist grows larger than expected, you might need to adjust your management strategy. Consider breaking the list into smaller segments or using additional criteria to prioritize entries.
Handling Duplicate Entries
To prevent duplicates, you can use Google Forms' settings to limit responses to one per person. For existing duplicates, use Google Sheets' built-in tools to identify and remove them, keeping the earliest entry.
By following these steps and best practices, you'll be well-equipped to create and manage an effective waitlist using Google Forms. Remember, the key to success is clear communication, consistent management, and a focus on providing value to your waitlist participants. With these elements in place, your waitlist can become a powerful tool for managing demand and building excitement for your offering.